
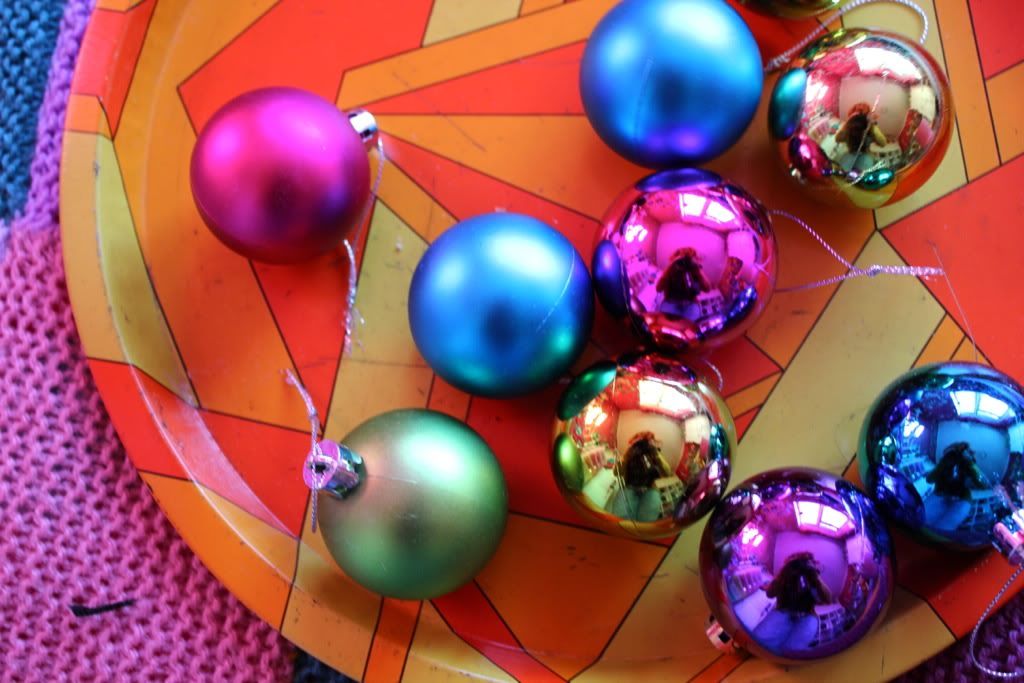
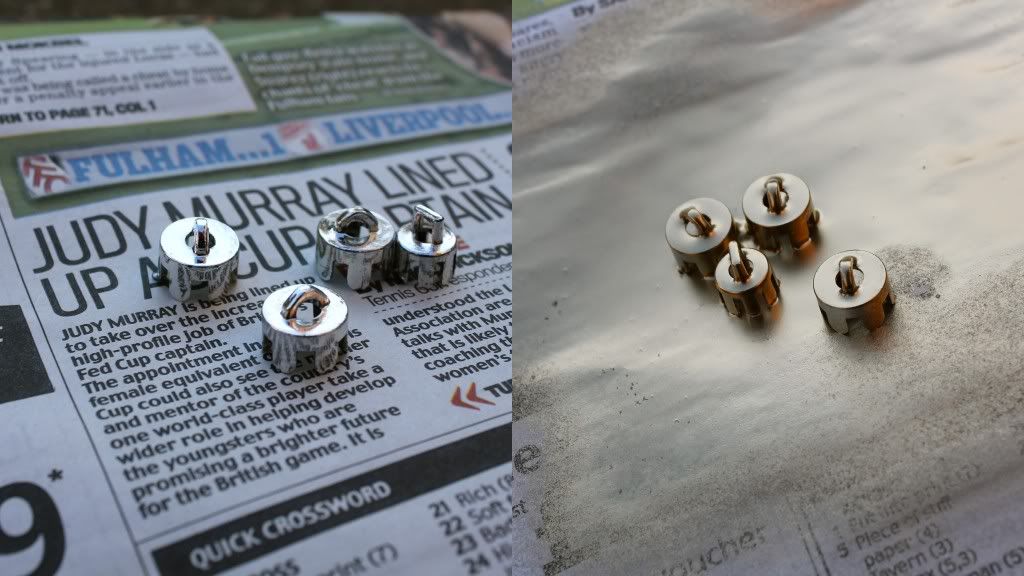
From this...
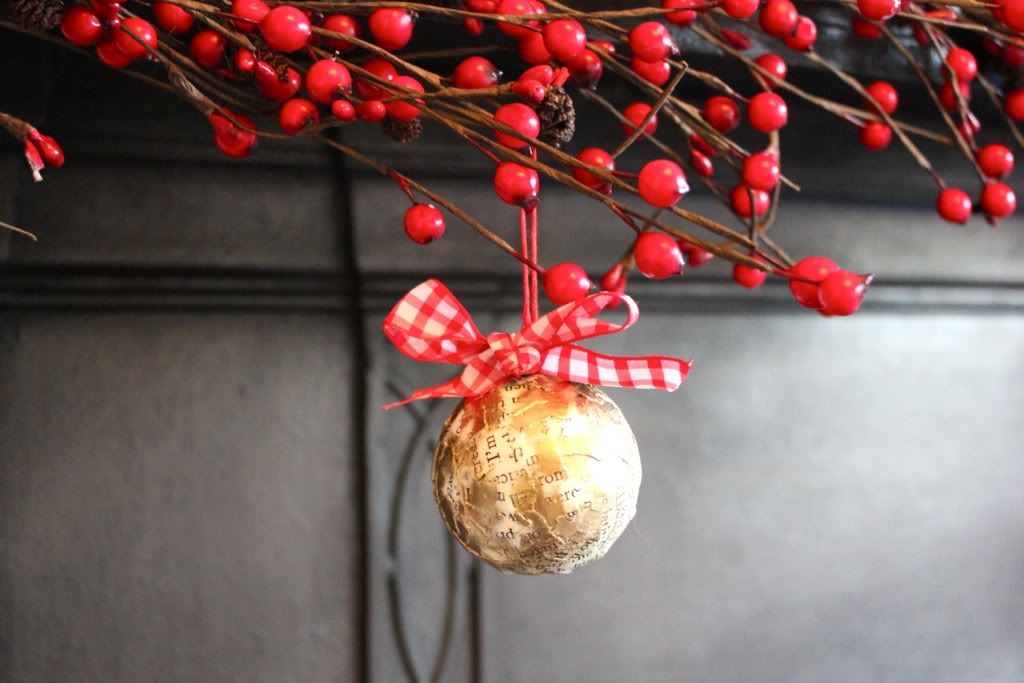
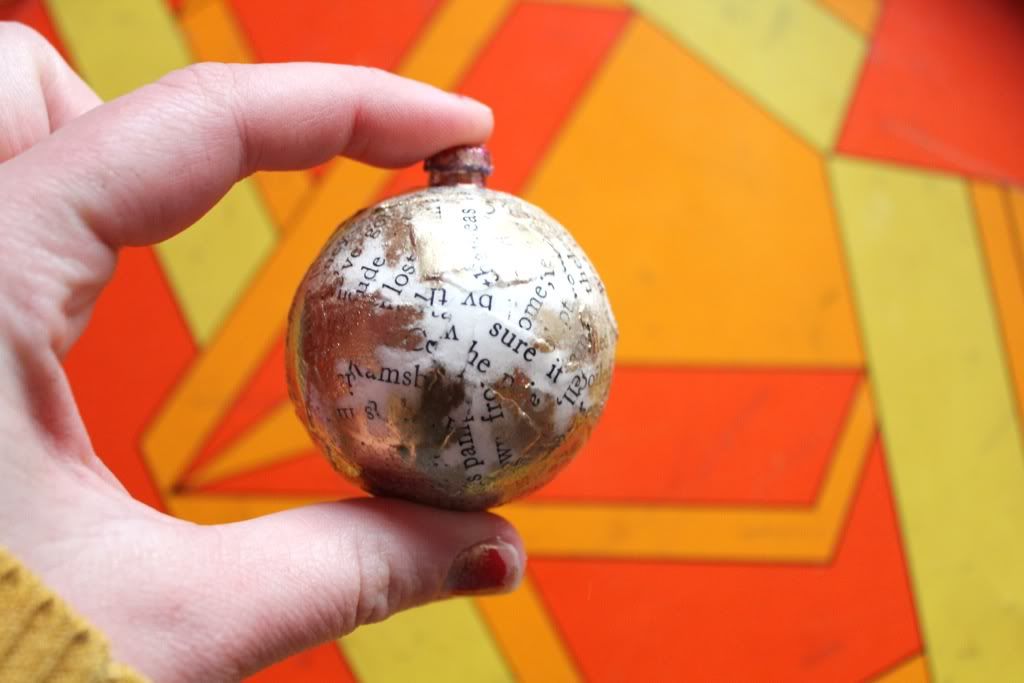
...to this.
Do your Christmas decorations need a pick me up? Do last year's baubles clash with this year's colour scheme (I can't be the only with Christmas colour schemes, right?) Or have you simply over bought baubles? Yup, I'm guilty of that too! These coloured ornaments are leftover from a DIY I've been working on, but the colours, although fabulous, are completely wrong for my red-and-gold tree theme.
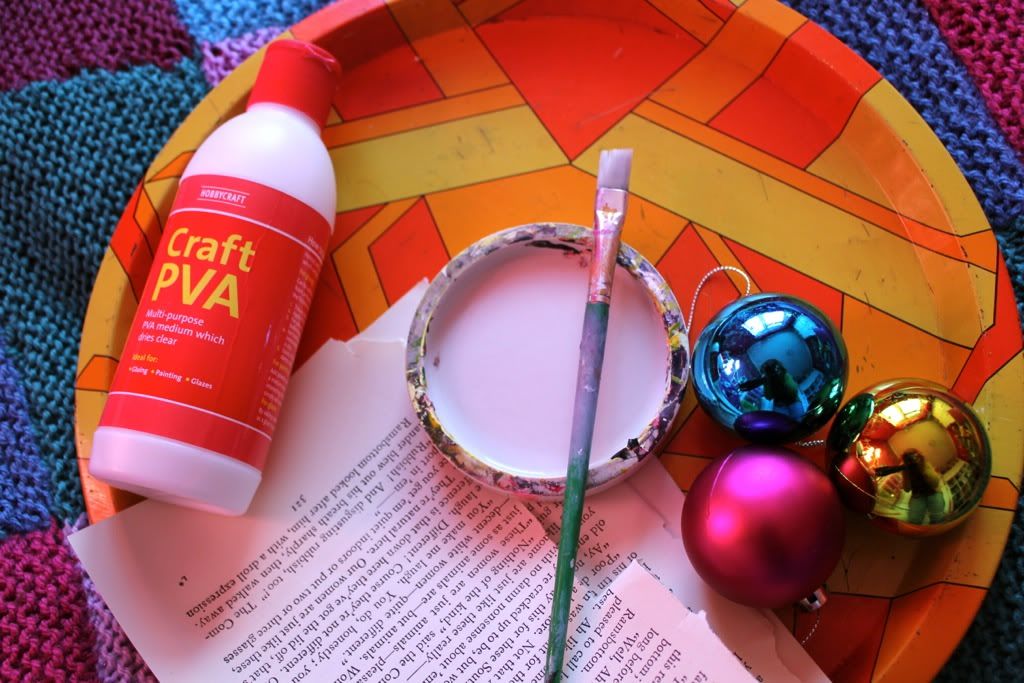
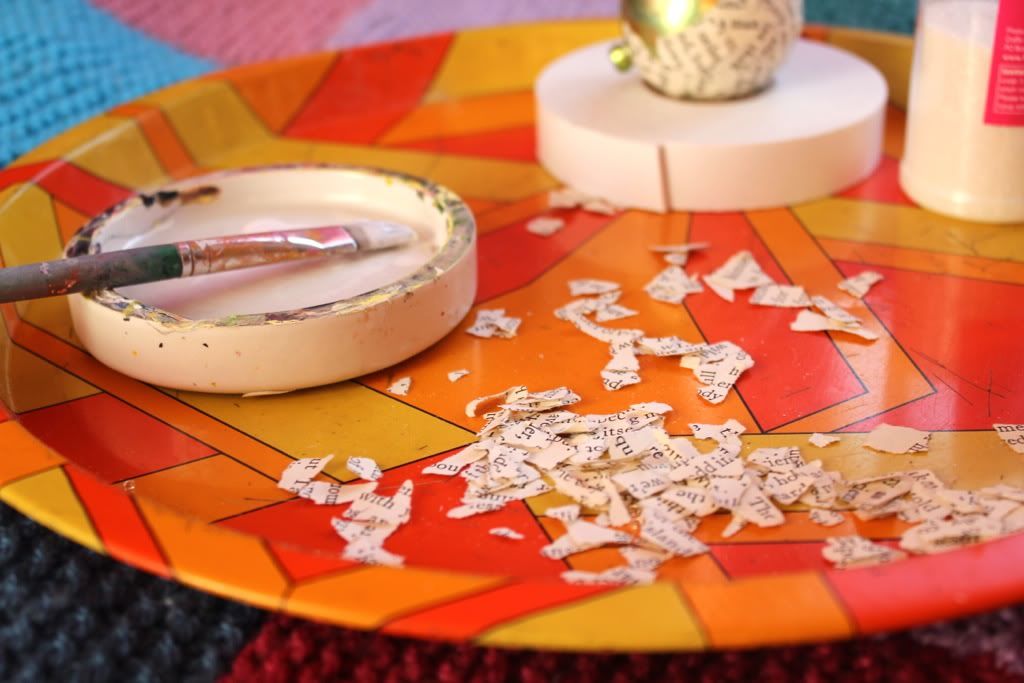
To create these, for want of a better word, luxury decoupage Christmas baubles, you will need the following:
- Old baubles
- PVA glue
- Something to decoupage your baubles with, I'm using pages from an old book that I picked up from a charity shop.
- An old paint brush and a dish for your glue.
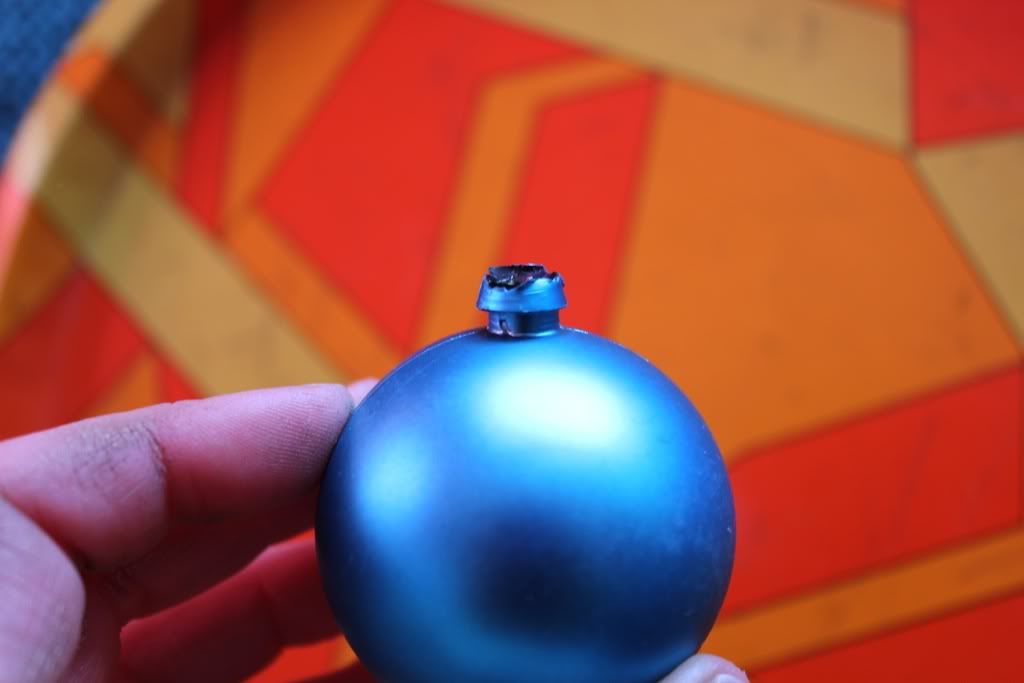
Before you start, remove the hardware that's used to hang the bauble - if it's possible, my baubles are super cheapy so they come off easily. Don't worry if your's don't, just glue round them :)
If you haven't done it before, decoupage is a really simple and effective process. Tear up your chosen paper into small pieces. Tip: if your paper is quite thick, like my book pages were, or your baubles are quite small, your pieces need to be torn really tiny - or you lose the spherical shape of the bauble. Add a little bit of PVA glue to your bauble and start to glue on your bits of paper, plastering them down with more glue, this holds them in place and gives the completed bauble a shiny finish.
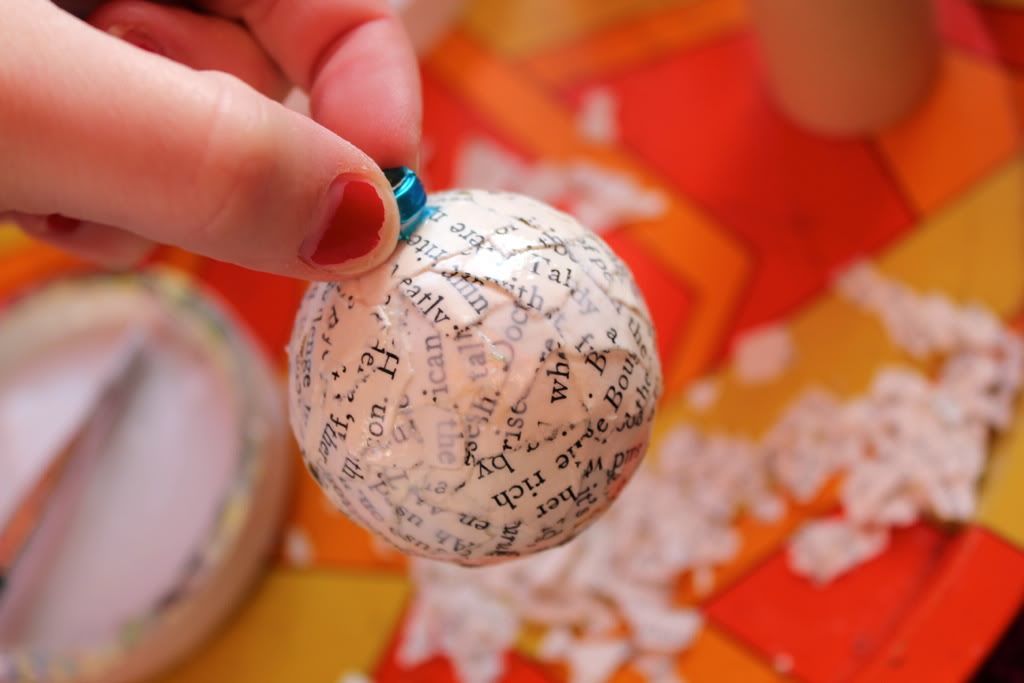
Repeat until the whole bauble is covered. Tip: cover one half, let it dry, and then cover the second half - it makes things a little easier. Now I've seen some very pretty book-page baubles that have been left plain, but I wanted to add a little something extra to mine, seeing as it's Christmas.
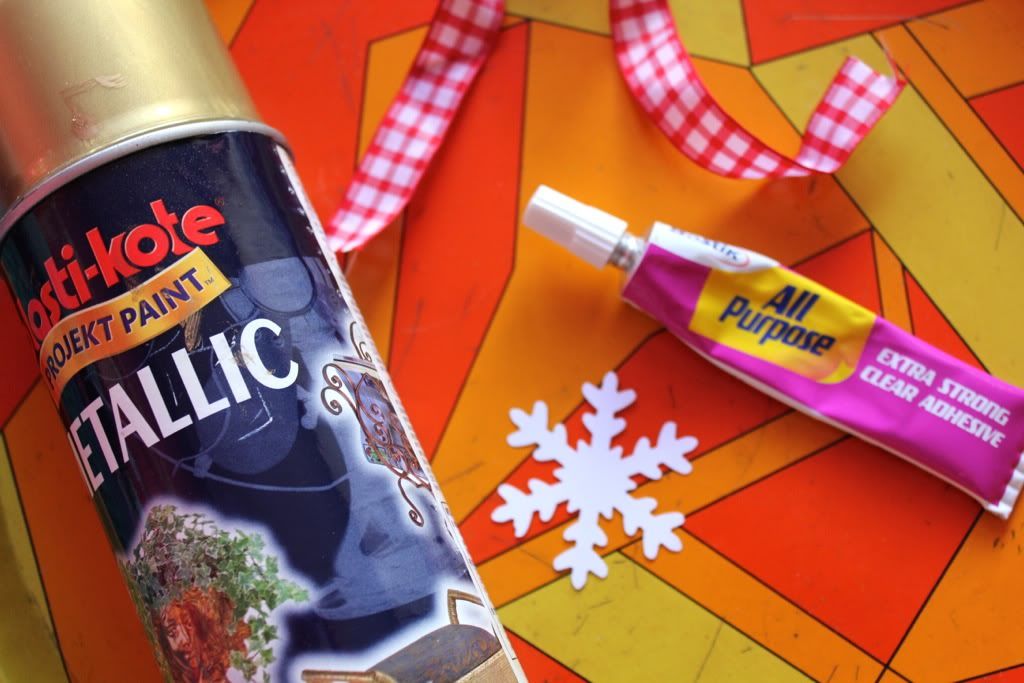
To decorate, I've used:
Gold spray paint,
Ribbon,
A strong adhesive.
and I've used a paper snowflake (they're at the heart of everything this Christmas!) as a stencil.

Blu-tack your stencil onto your bauble.
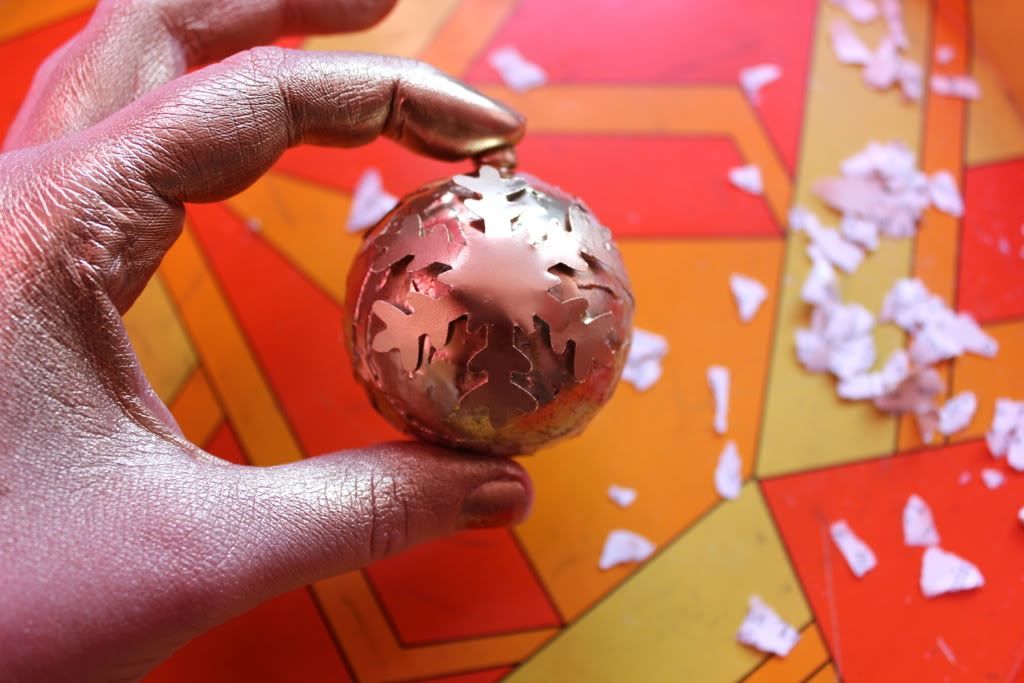
Spray paint! I just covered the stencil and the immediate area surrounding it, as I want the text to show through.
This is how it should look when the stencil is removed, don't worry if it's not perfect, perfection is overrated!
I then spray painted the bauble fixings gold to match, and reattached them (glue if necessary). Glue on a little bow, and thread some embroidery floss / ribbon through to hang, and ta da! A lovely decoration for a classic Christmas.
Mine will be hanging on the tree, as soon as it arrives tomorrow! Excited :) Ax
Aw cool, that is beautiful.
ReplyDeleteI wonder, do you know Modge Podge and is it like PVA?
Nev
Im trying to use fabric pieces, but I think they are a bit big as they don't bend round the corners too well. I am cutting them up smaller for the next go.
ReplyDelete